After talking to my friend Allie, she gave me this great idea on how to make my own coasters. Not only that, she was gifting them for Christmas presents which I thought was an amazing idea as well.
After taking the reins and trying it out myself (along with my sister) I wanted to share with all my lovely followers. So here we go....
Supplies:
- Modge Podge*
- Polyurethane*
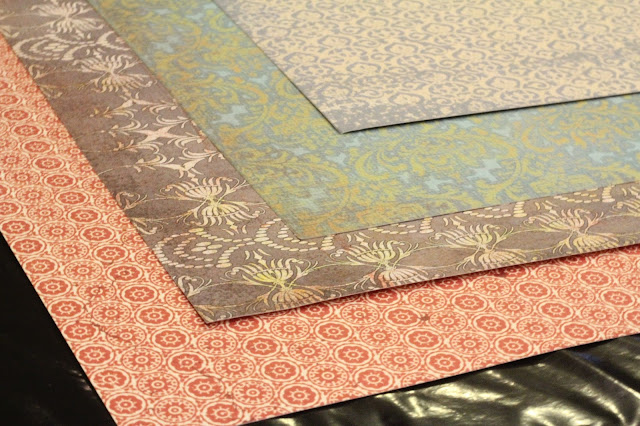
- Paper of your choice* (a little bit thicker paper is better)
- 2 Sponge Brushes (one for the Modge Podge and Polyurethane)*
- 4-6 Tiles (Depending on how many you want of course)**
- Rubber or Felt Pads/Dots (To place on bottom of tile to avoid slipping- I prefer rubber)*
- Scissors
- Plastic Bag
- Pen/Pencil
* Can get at Michael's or Hobby Lobby
**Can get at Home Depot ($0.16/ea)
Step 1: Lay out the plastic bag and set all supplies on the bag to avoid making a giant mess of yourself.
Step 2: Trace the tile on the paper using your pen/pencil. Cut out each square. I found that even tracing them the paper is a tiny bit too big when placed on the tile so you may need to trim it down a bit to fit right on top of the tile.
Step 3: Lay out your tiles. Use one of your sponge brushes and either dip into the Modge Podge jar (option to pour into a bowl - may be easier). Paint the top and sides (just because I like to get all my grounds covered).
Step 4: Place the cut out squares of paper on the top of each tile. Hold down for a minute to make sure to get any bubbles out.
Step 5: Apply Modge Podge on top of the paper (and on sides of tiles to make sure paper is secured to the tile). Wait for first layer to dry (wait about 2-3 minutes) and add a second layer. Don't glop on the MP!
Step 6: Wait about 30 minutes for the tile to dry. Take the second sponge brush and dip it into the Polyurethane can. Brush all of the tiles with the Polyurethane. A little bit goes a long way. Brush the top and the sides again. This will help make your tile waterproof so when you put your cup on the tile it won't ruin the paper on top.
Step 7: After the tiles are dried, add either the rubber or the felt pads to the bottom of the tile. Another option, provided by my mom, is to add an entire layer of felt padding on the bottom of the tile. Totally up to you!
And you're done!!! Check out our final product....
 |
| Mine |
 |
| Katie's |
As for the giveaway winner... drumroll please.... the winner is:
Rachel with "Reckless Abandon Cook"
Thanks everyone for participating and thanks to Alana from Make Pie Not War!!!
Thanks everyone for participating and thanks to Alana from Make Pie Not War!!!


Yayyy! I'm so excited! I feel like I never win anything!
ReplyDeleteWhat a lovely idea! I think it would make a perfect little gift.
ReplyDeleteThose look great - I'll have to try that!
ReplyDelete